React + D3.js
When I visualize data on the web, my current favorite environment is using D3.js inside of a React.js application.
React.js is a JavaScript library that helps with building complex user interfaces. This website is written using React!
I would recommend being familiar with React for this article. It might be worth running through the official tutorial or running through a book (I've heard good things about this one) to make sure you don't stumble on anything in here!
D3.js is the de facto library for visualizing data in the browser. It's basically just a collection of utility methods, but the API is enormous! To get a birds-eye view of the API, check out my post on How to Learn D3.js.
D3.js is notorious for being hard to learn. If you're interested in learning or solidifying your knowledge, I tried to distill my knowledge into Fullstack Data Visualization and D3.js. Plus, the first chapter is free!
These two technologies are notoriously tricky to combine. The crux of the issue is that they both want to handle the DOM.
Let's start at the beginning, shall we?
#Creating SVG elements
When visualizing data in the browser, we'll usually want to work with SVG elements, since they're much more expressive and are absolutely positioned.
To start, we'll just render a simple <svg> element.
const Svg = () => { return ( <svg style={{ border: "2px solid gold" }} /> )}Easy as 🥧, right?
To visualize data, we'll want to represent data points as shapes. Let's start with a simple basic shape: a <circle>.
const Circle = () => { const ref = useRef() useEffect(() => { const svgElement = d3.select(ref.current) svgElement.append("circle") .attr("cx", 150) .attr("cy", 70) .attr("r", 50) }, []) return ( <svg ref={ref} /> )}Our component does a few new things:
- 1.uses a
refto store a reference to our rendered<svg>element - 2.runs d3 code when the Component mounts
- 3.uses
d3.select()to turn ourrefinto a d3 selection object - 4.uses our d3 selection object to
appenda<circle>element
But this is quite a lot of code to draw a single shape, isn't it? And aren't we supposed to use React refs as sparingly as possible?
Avoid using refs for anything that can be done declaratively.
Thankfully, all SVG elements have been supported in JSX since React v15. Which means that creating a <circle> element is as easy as...
const Circle = () => { return ( <svg> <circle cx="150" cy="77" r="40" /> </svg> )}What are the benefits of using standard JSX instead of running d3 code on mount?
- Declarative instead of imperative
The code describes what is being drawn, instead of how to draw it. - Less code
Our secondCirclecomponent has fewer than two-thirds the number of lines as our first iteration/ - Less hacky
React is, chiefly, a rendering library, and has many optimizations to keep our web apps performant. When adding elements using d3, we're hacking around React, and essentially have to fight against those optimizations. Hacking around your JS framework is a recipe for future frustration, especially if the framework's API changes.
This is all well and good, but what about rendering many elements?
#Creating many SVG elements
One of the core concepts of d3.js is binding data to DOM elements.
Let's generate a dataset of 10 random [x, y] coordinates.
We've created a generateDataset() function that outputs an array of 10 arrays.
const generateDataset = () => ( Array(10).fill(0).map(() => ([ Math.random() * 80 + 10, Math.random() * 35 + 10, ])))const generateDataset = () => ( Array(10).fill(0).map(() => ([ Math.random() * 80 + 10, Math.random() * 35 + 10, ])))What would it look like if we drew a <circle> at each of these locations? Starting with the naive d3 code:
const Circles = () => { const [dataset, setDataset] = useState( generateDataset() ) const ref = useRef() useEffect(() => { const svgElement = d3.select(ref.current) svgElement.selectAll("circle") .data(dataset) .join("circle") .attr("cx", d => d[0]) .attr("cy", d => d[1]) .attr("r", 3) }, [dataset]) useInterval(() => { const newDataset = generateDataset() setDataset(newDataset) }, 2000) return ( <svg viewBox="0 0 100 50" ref={ref} /> )}This code looks very similar to our previous code, with two changes:
- 1.We're creating a selection of all
<circle>elements and using our d3 selection's.join()method to add a circle for each data point - 2.We're re-running our d3 code whenever
datasetchanges - 3.We're using
useInterval()(from the end of Thinking in React Hooks) to re-calculate ourdatasetevery two seconds
Okay, we're back to our original issues: our code is a bit imperative, verbose, and hacky. What would this look like using React to render our <circle>s?
const Circles = () => { const [dataset, setDataset] = useState( generateDataset() ) useInterval(() => { const newDataset = generateDataset() setDataset(newDataset) }, 2000) return ( <svg viewBox="0 0 100 50"> {dataset.map(([x, y], i) => ( <circle cx={x} cy={y} r="3" /> ))} </svg> )}Much clearer! In this code, we're...
- 1.Looping over each data point, and
- 2.rendering a
<circleat[x, y]
But d3 is great at animating enter and exit transitions!you, probably
We all know that d3 is great at keeping track of what elements are new and animating elements in and out. And if you don't you should read a book.
Let's look at an example with transitions:
const AnimatedCircles = () => { const [visibleCircles, setVisibleCircles] = useState( generateCircles() ) const ref = useRef() useInterval(() => { setVisibleCircles(generateCircles()) }, 2000) useEffect(() => { const svgElement = d3.select(ref.current) svgElement.selectAll("circle") .data(visibleCircles, d => d) .join( enter => ( enter.append("circle") .attr("cx", d => d * 15 + 10) .attr("cy", 10) .attr("r", 0) .attr("fill", "cornflowerblue") .call(enter => ( enter.transition().duration(1200) .attr("cy", 10) .attr("r", 6) .style("opacity", 1) )) ), update => ( update.attr("fill", "lightgrey") ), exit => ( exit.attr("fill", "tomato") .call(exit => ( exit.transition().duration(1200) .attr("r", 0) .style("opacity", 0) .remove() )) ), ) }, [dataset]) return ( <svg viewBox="0 0 100 20" ref={ref} /> )}Wow, this is a lot of code!
Don't feel the need to run through all of it -- the gist is that we have 6 <circle>s, and every two seconds, we randomly choose some of them to show up.
- 1.circles that are new are animated in in blue,
- 2.circles that stay for multiple rounds turn grey,
- 3.circles that aren't in the new round are animated out in red,
Okay, so we can see that this code is hard to scan, but how would we implement this using React?
const AnimatedCircles = () => { const [visibleCircles, setVisibleCircles] = useState( generateCircles() ) useInterval(() => { setVisibleCircles(generateCircles()) }, 2000) return ( <svg viewBox="0 0 100 20"> {allCircles.map(d => ( <AnimatedCircle key={d} index={d} isShowing={visibleCircles.includes(d)} /> ))} </svg> )}const AnimatedCircle = ({ index, isShowing }) => { const wasShowing = useRef(false) useEffect(() => { wasShowing.current = isShowing }, [isShowing]) const style = useSpring({ config: { duration: 1200, }, r: isShowing ? 6 : 0, opacity: isShowing ? 1 : 0, }) return ( <animated.circle {...style} cx={index * 15 + 10} cy="10" fill={ !isShowing ? "tomato" : !wasShowing.current ? "cornflowerblue" : "lightgrey" } /> )}Animating elements out is not very straightforward in React, so let's keep all of the <circle>s rendered, and give them an opacity if they're not in the currently shown circles.
In this code, we:
- 1.loop over our
allCirclesarray and create a<AnimatedCircle>for each item, - 2.define a
AnimatedCirclecomponent that takes to props:index(for positioning), andisShowing - 3.cache the last
isShowingvalue, so we can see whether the<circle>is entering or exiting - 4.
- 5.use
animatedfrom react-spring to animate our<circle>'s and spread our animated values as element attributes
While this code isn't necessarily much shorter than the d3 code, it is a lot easier to read.
#Axes
The d3.js API is expansive, and we can become reliant on it to do the heavy lifting for us. Especially with the several methods that will create several DOM elements for us.
For example, the .axisBottom() method will create a whole chart axis in one line of code!
const Axis = () => { const ref = useRef() useEffect(() => { const xScale = d3.scaleLinear() .domain([0, 100]) .range([10, 290]) const svgElement = d3.select(ref.current) const axisGenerator = d3.axisBottom(xScale) svgElement.append("g") .call(axisGenerator) }, []) return ( <svg ref={ref} /> )}So easy! All we need to do to create a bottom axis is:
- 1.create a scale that converts from the data values (
0 - 100) to the corresponding physical location (10px - 290px) - 2.store the
<svg>element in arefand create a d3 selection object containing it - 3.pass our scale to
.axisBottom()to create anaxisGenerator - 4.create a new
<g>element to house our axis' DOM elements - 5.
.call()ouraxisGeneratoron our new<g>element. This is effectively the same as the expression:but it lets us keep the chain of d3 methods goingconst newG = svgElement.append("g")axisGenerator(newG)
Well that was pretty easy, wasn't it? Unfortunately, we would prefer to keep things React-y (for all of the reasons mentioned above).
So if we can't use .axisBottom() to create our axis DOM elements, what can we do?
const Axis = () => { const ticks = useMemo(() => { const xScale = d3.scaleLinear() .domain([0, 100]) .range([10, 290]) return xScale.ticks() .map(value => ({ value, xOffset: xScale(value) })) }, []) return ( <svg> <path d="M 9.5 0.5 H 290.5" stroke="currentColor" /> {ticks.map(({ value, xOffset }) => ( <g key={value} transform={`translate(${xOffset}, 0)`} > <line y2="6" stroke="currentColor" /> <text key={value} style={{ fontSize: "10px", textAnchor: "middle", transform: "translateY(20px)" }}> { value } </text> </g> ))} </svg> )}While we don't want to use a d3 method that creates DOM elements (.axisBottom()), we can use the d3 methods that d3 uses internally to create axes!
- 1.create a scale that converts from the data values (
0 - 100) to the corresponding physical location (10px - 290px) - 2.use our d3 scale's
.ticks()methodOurxScale's.ticks()method will return:[0, 10, 20, 30, 40, 50, 60, 70, 80, 90, 100] - 3.map over our array of tick values and create an object that contains the
valueandxOffset(converted usingxScale) - 4.create a
<path>element that marks that top of our axis. It starts at[9, 0]and moves horizontally to[290, 0] - 5.for each of our ticks, we want to create a group that is shifted the appropriate number of pixels to the right.
Each of our groups will contain a tick<line>and<text>containing the tick value
Okay! So this is definitely more code. But that makes sense, since we're basically duplicating some of the d3 library code, in our own code base.
But here's the thing: our new code is way more readable - we know what elements we're rendering just by looking at the return statement. Plus, we can extract all of this logic into a single Axis component. This we we can customize it however we like, without having to think about this extra logic again.
What would a more re-useable Axis component look like?
const Axis = ({ domain=[0, 100], range=[10, 290],}) => { const ticks = useMemo(() => { const xScale = d3.scaleLinear() .domain(domain) .range(range) const width = range[1] - range[0] const pixelsPerTick = 30 const numberOfTicksTarget = Math.max( 1, Math.floor( width / pixelsPerTick ) ) return xScale.ticks(numberOfTicksTarget) .map(value => ({ value, xOffset: xScale(value) })) }, [ domain.join("-"), range.join("-") ]) return ( <svg> <path d={[ "M", range[0], 6, "v", -6, "H", range[1], "v", 6, ].join(" ")} fill="none" stroke="currentColor" /> {ticks.map(({ value, xOffset }) => ( <g key={value} transform={`translate(${xOffset}, 0)`} > <line y2="6" stroke="currentColor" /> <text key={value} style={{ fontSize: "10px", textAnchor: "middle", transform: "translateY(20px)" }}> { value } </text> </g> ))} </svg> )}Our Axis component will take two props: domain and range.
We really didn't have to make many changes here! Let's look at the main updates:
- 1.we check the range to dynamically change the number of ticks that we're aiming for (which we can set by passing the number to
.ticks()).
We're aiming for one tick per 30 pixels, with a minimum of 1. - 2.we want to re-calculate our
tickswhen our props change. We want to pay attention to the values of ourdomainandrangearrays, instead of the array reference, so we'll.join()them into a string.
For example, we want to check a string of"0-100"instead of a reference to the array[0, 100].
This will give us the ability to create thedomainandrangearrays withinAxis's parent component. - 3.a small change, but potentially important. We'll add a duplicate first and last tick mark, in case our ticks don't cover the top or bottom of our
domain.
For example,[0, 100]and[10, 150]
(click to update example)
Now, our Axis component really only works for axes at the bottom of a chart, at the moment. But hopefully this gives you enough of an idea of how easy it is to duplicate d3's axis drawing methods.
I use this method for recreating any d3 methods that create multiple elements. In addition to the usual benefits of using React to render elements (declarative and less hacky), I find that this code is easier for other developers who are less familiar with the d3 API to understand the code.
We truly get the best of both worlds, since the d3 API surfaces many of its internal methods.
#Sizing & Responsivity
Sizing charts can be tricky! Because we need to exactly position our data elements, we can't use our usual web development tricks that rely on responsive sizing of <div>s and <spans>.
If you've read through many d3.js examples, you'll know that there's a common way of sizing charts. This is the terminology I use in Fullstack D3 and Data Visualization:
- wrapper
is the extent of the chart, and the dimensions of the<svg>element - bounds
contain the data elements, but exclude margins and legends - margins
determine the padding around the bounds
We need to separate our wrapper and bounds boxes because we need to know their exact dimensions when building a chart with <svg>.
const chartSettings = { "marginLeft": 75}const ChartWithDimensions = () => { const [ref, dms] = useChartDimensions(chartSettings) const xScale = useMemo(() => ( d3.scaleLinear() .domain([0, 100]) .range([0, dms.boundedWidth]) ), [dms.boundedWidth]) return ( <div className="Chart__wrapper" ref={ref} style={{ height: "200px" }}> <svg width={dms.width} height={dms.height}> <g transform={`translate(${[ dms.marginLeft, dms.marginTop ].join(",")})`}> <rect width={dms.boundedWidth} height={dms.boundedHeight} fill="lavender" /> <g transform={`translate(${[ 0, dms.boundedHeight, ].join(",")})`}> <Axis domain={xScale.domain()} range={xScale.range()} /> </g> </g> </svg> </div> )}chartSettings values:This example is a little complicated - let's walk through what's going on. The main parts to pay attention to here are where we...
- 1.use a custom hook to calculate the dimensions of our wrapper and bounds (more on this in a bit)
- 2.use the
dmsobject with the calculated dimensions to create an x scale - 3.use the React
reffrom our custom hook to pass a non-svg wrapping element that is the size we want our wrapper to be - 4.transform the main part of our chart to respect our top and left margins
Now that we have an idea of how we would use wrapper, bounds, and margins, let's look at what our custom hook is doing.
import ResizeObserver from '@juggle/resize-observer'const useChartDimensions = passedSettings => { const ref = useRef() const dimensions = combineChartDimensions( passedSettings ) const [width, setWidth] = useState(0) const [height, setHeight] = useState(0) useEffect(() => { if (dimensions.width && dimensions.height) return [ref, dimensions] const element = ref.current const resizeObserver = new ResizeObserver( entries => { if (!Array.isArray(entries)) return if (!entries.length) return const entry = entries[0] if (width != entry.contentRect.width) setWidth(entry.contentRect.width) if (height != entry.contentRect.height) setHeight(entry.contentRect.height) } ) resizeObserver.observe(element) return () => resizeObserver.unobserve(element) }, []) const newSettings = combineChartDimensions({ ...dimensions, width: dimensions.width || width, height: dimensions.height || height, }) return [ref, newSettings]}When we pass a settings object to our custom useChartDimensions hook, it will...
- 1.fill in missing margins with preset default values.1.
const combineChartDimensions = dimensions => {2.const parsedDimensions = {3....dimensions,4.marginTop: dimensions.marginTop || 10,5.marginRight: dimensions.marginRight || 10,6.marginBottom: dimensions.marginBottom || 40,7.marginLeft: dimensions.marginLeft || 75,8.}9.10.return {11....parsedDimensions,12.boundedHeight: Math.max(13.parsedDimensions.height14.- parsedDimensions.marginTop15.- parsedDimensions.marginBottom,16.0,17.),18.boundedWidth: Math.max(19.parsedDimensions.width20.- parsedDimensions.marginLeft21.- parsedDimensions.marginRight,22.0,23.),24.}25.} - 2.defer to the passed
heightandwidth, if specified in thepassedSettings - 3.use a
ResizeObserverto re-calculate the dimensions when the passed element changes size - 4.grab the height and width of a containing
<div>for our wrapper dimensions - 5.calculate the dimensions of our bounds (named
boundedHeightandboundedWidth)
Note that any settings that we don't set are being filled in automatically. For example, we can specify a specific height, or let useChartDimensions grab the value from the wrapping element, using the React ref.
Hopefully this gives you an idea of how to handle chart dimensions in a responsive, easy way. Feel free to grab my custom useChartDimensions hook — I really enjoy having my wrapper, bounds, and margins calculated, with a simple one-liner.
#Maps
So you've seen awesome examples of people using d3 to create detailed maps, and globes that you can spin around. And you want to do that, too.
Worry not! We can let d3 do a lot of the heavy lifting, and have a map in no time! First, let's look at our map! Try changing the projection, d3 comes with tons of fun options:
const Map = ({ projectionName = "geoArmadillo" }) => { // grab our custom React hook we defined above const [ref, dms] = useChartDimensions({}) // this is the definition for the whole Earth const sphere = { type: "Sphere" } const projectionFunction = d3[projectionName] || d3GeoProjection[projectionName] const projection = projectionFunction() .fitWidth(dms.width, sphere) const pathGenerator = d3.geoPath(projection) // size the svg to fit the height of the map const [ [x0, y0], [x1, y1] ] = pathGenerator.bounds(sphere) const height = y1 return ( <div ref={ref} style={{ width: "100%", }} > <svg width={dms.width} height={height}> <defs>{/* some projections bleed outside the edges of the Earth's sphere */}{/* let's create a clip path to keep things in bounds */} <clipPath id="Map__sphere"> <path d={pathGenerator(sphere)} /> </clipPath> </defs> <path d={pathGenerator(sphere)} fill="#f2f2f7" /> <g style={{ clipPath: "url(#Map__sphere)" }}> {/* we can even have graticules! */} <path d={pathGenerator(d3.geoGraticule10())} fill="none" stroke="#fff" /> {countryShapes.features.map((shape) => { return ( <path key={shape.properties.subunit} d={pathGenerator(shape)} fill="#9980FA" stroke="#fff" > <title> {shape.properties.name} </title> </path> ) })} </g> </svg> </div> )}There's a good amount of code in here, but really not much to create a whole map! Let's run through the highlights:
- 1.First, we need to create a
projection. This is our map between our country shape definitions and the way we draw those 3D shapes on our 2D screen.
We'll use the.fitWidth()method to size our map within the width of our component, and also create apathGeneratorto generate path definitions for our Earth & country shapes usingd3.geoPath(). - 2.Next, we'll find the dimensions of the whole Earth (
sphere) in our projection, and assign theheightof our svg to the height of the sphere. - 3.Some projections' shapes bleed outside of the edges of the Earth, so we'll keep them in bounds using a
clipPath. - 4.We can use our
pathGeneratorfunction to turn GeoJSONshape definitions into<path>dattribute strings. First, we'll draw the whole Earth in a light gray. - 5.d3-geo has some great methods, like
d3.geoGraticule10()which will help us draw graticule lines for reference. - 6.Last but not least, we'll draw our country shapes! We can draw different types of geographic shapes by passing GeoJSON definitions to our
pathGeneratorfunction. For example, we're importing a list of country definitions, then creating<path>elements with their shape.
Once you get the basics down, this is a really flexible way to draw geography! The trick is to think of d3 as a series of tools.
#Complex visualization layouts
We're through with the basics! We've covered:
- how to draw svg elements
- how to draw many svg elements
- how to replicate built-in d3 methods for drawing complex elements like axes
- how to size our charts easily
- how to draw maps!
From my experience, the most important rule is to know your tools. Once you're comfortable with drawing with SVG, using d3 as a utility library, and building React.js code, you'll truly be able to make whatever you can imagine. This is the beauty of learning the fundamentals, instead of just grabbing a chart library -- it's a lot more work to learn, but is way more powerful.
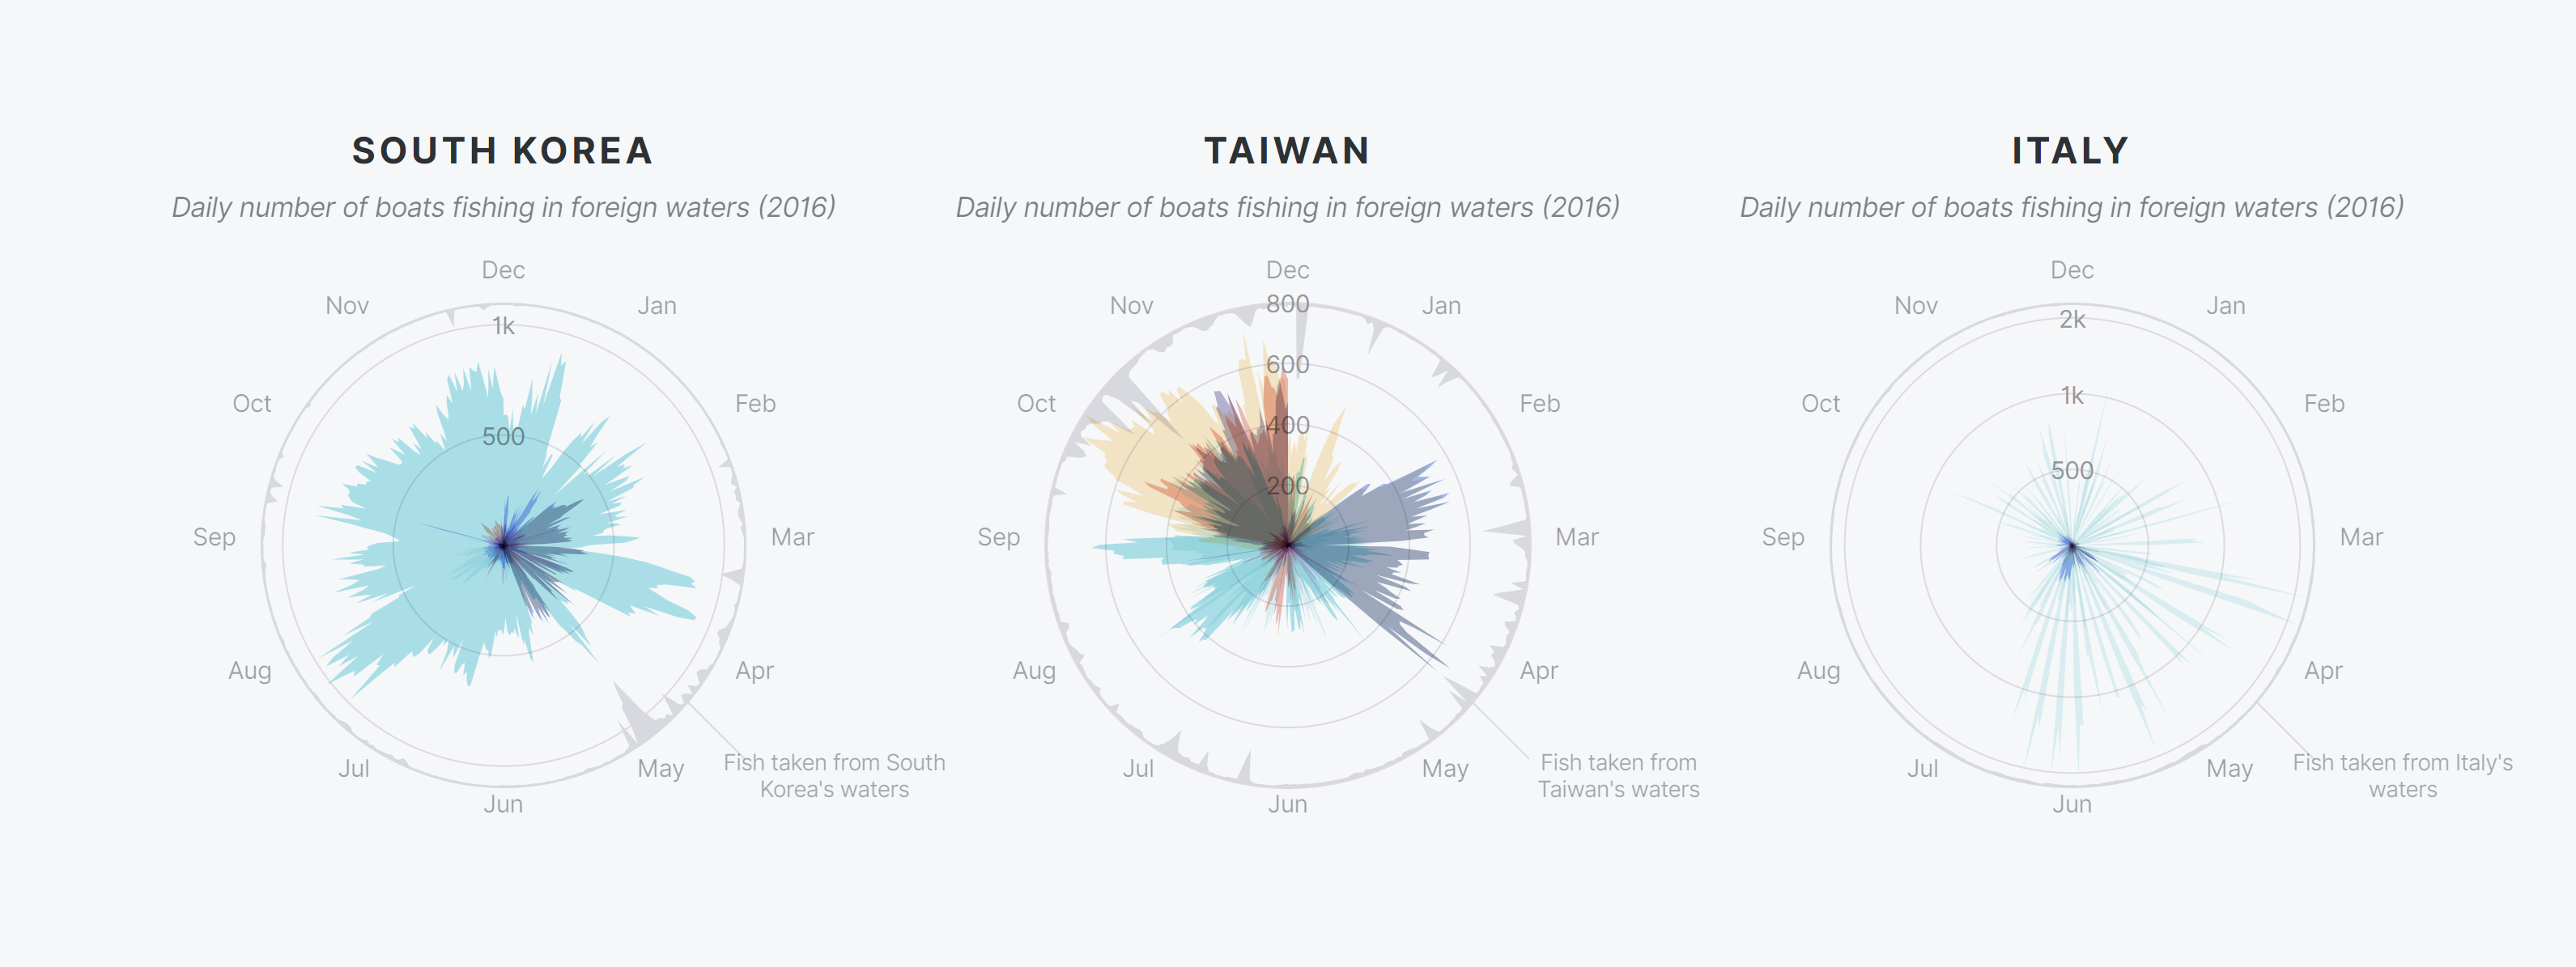
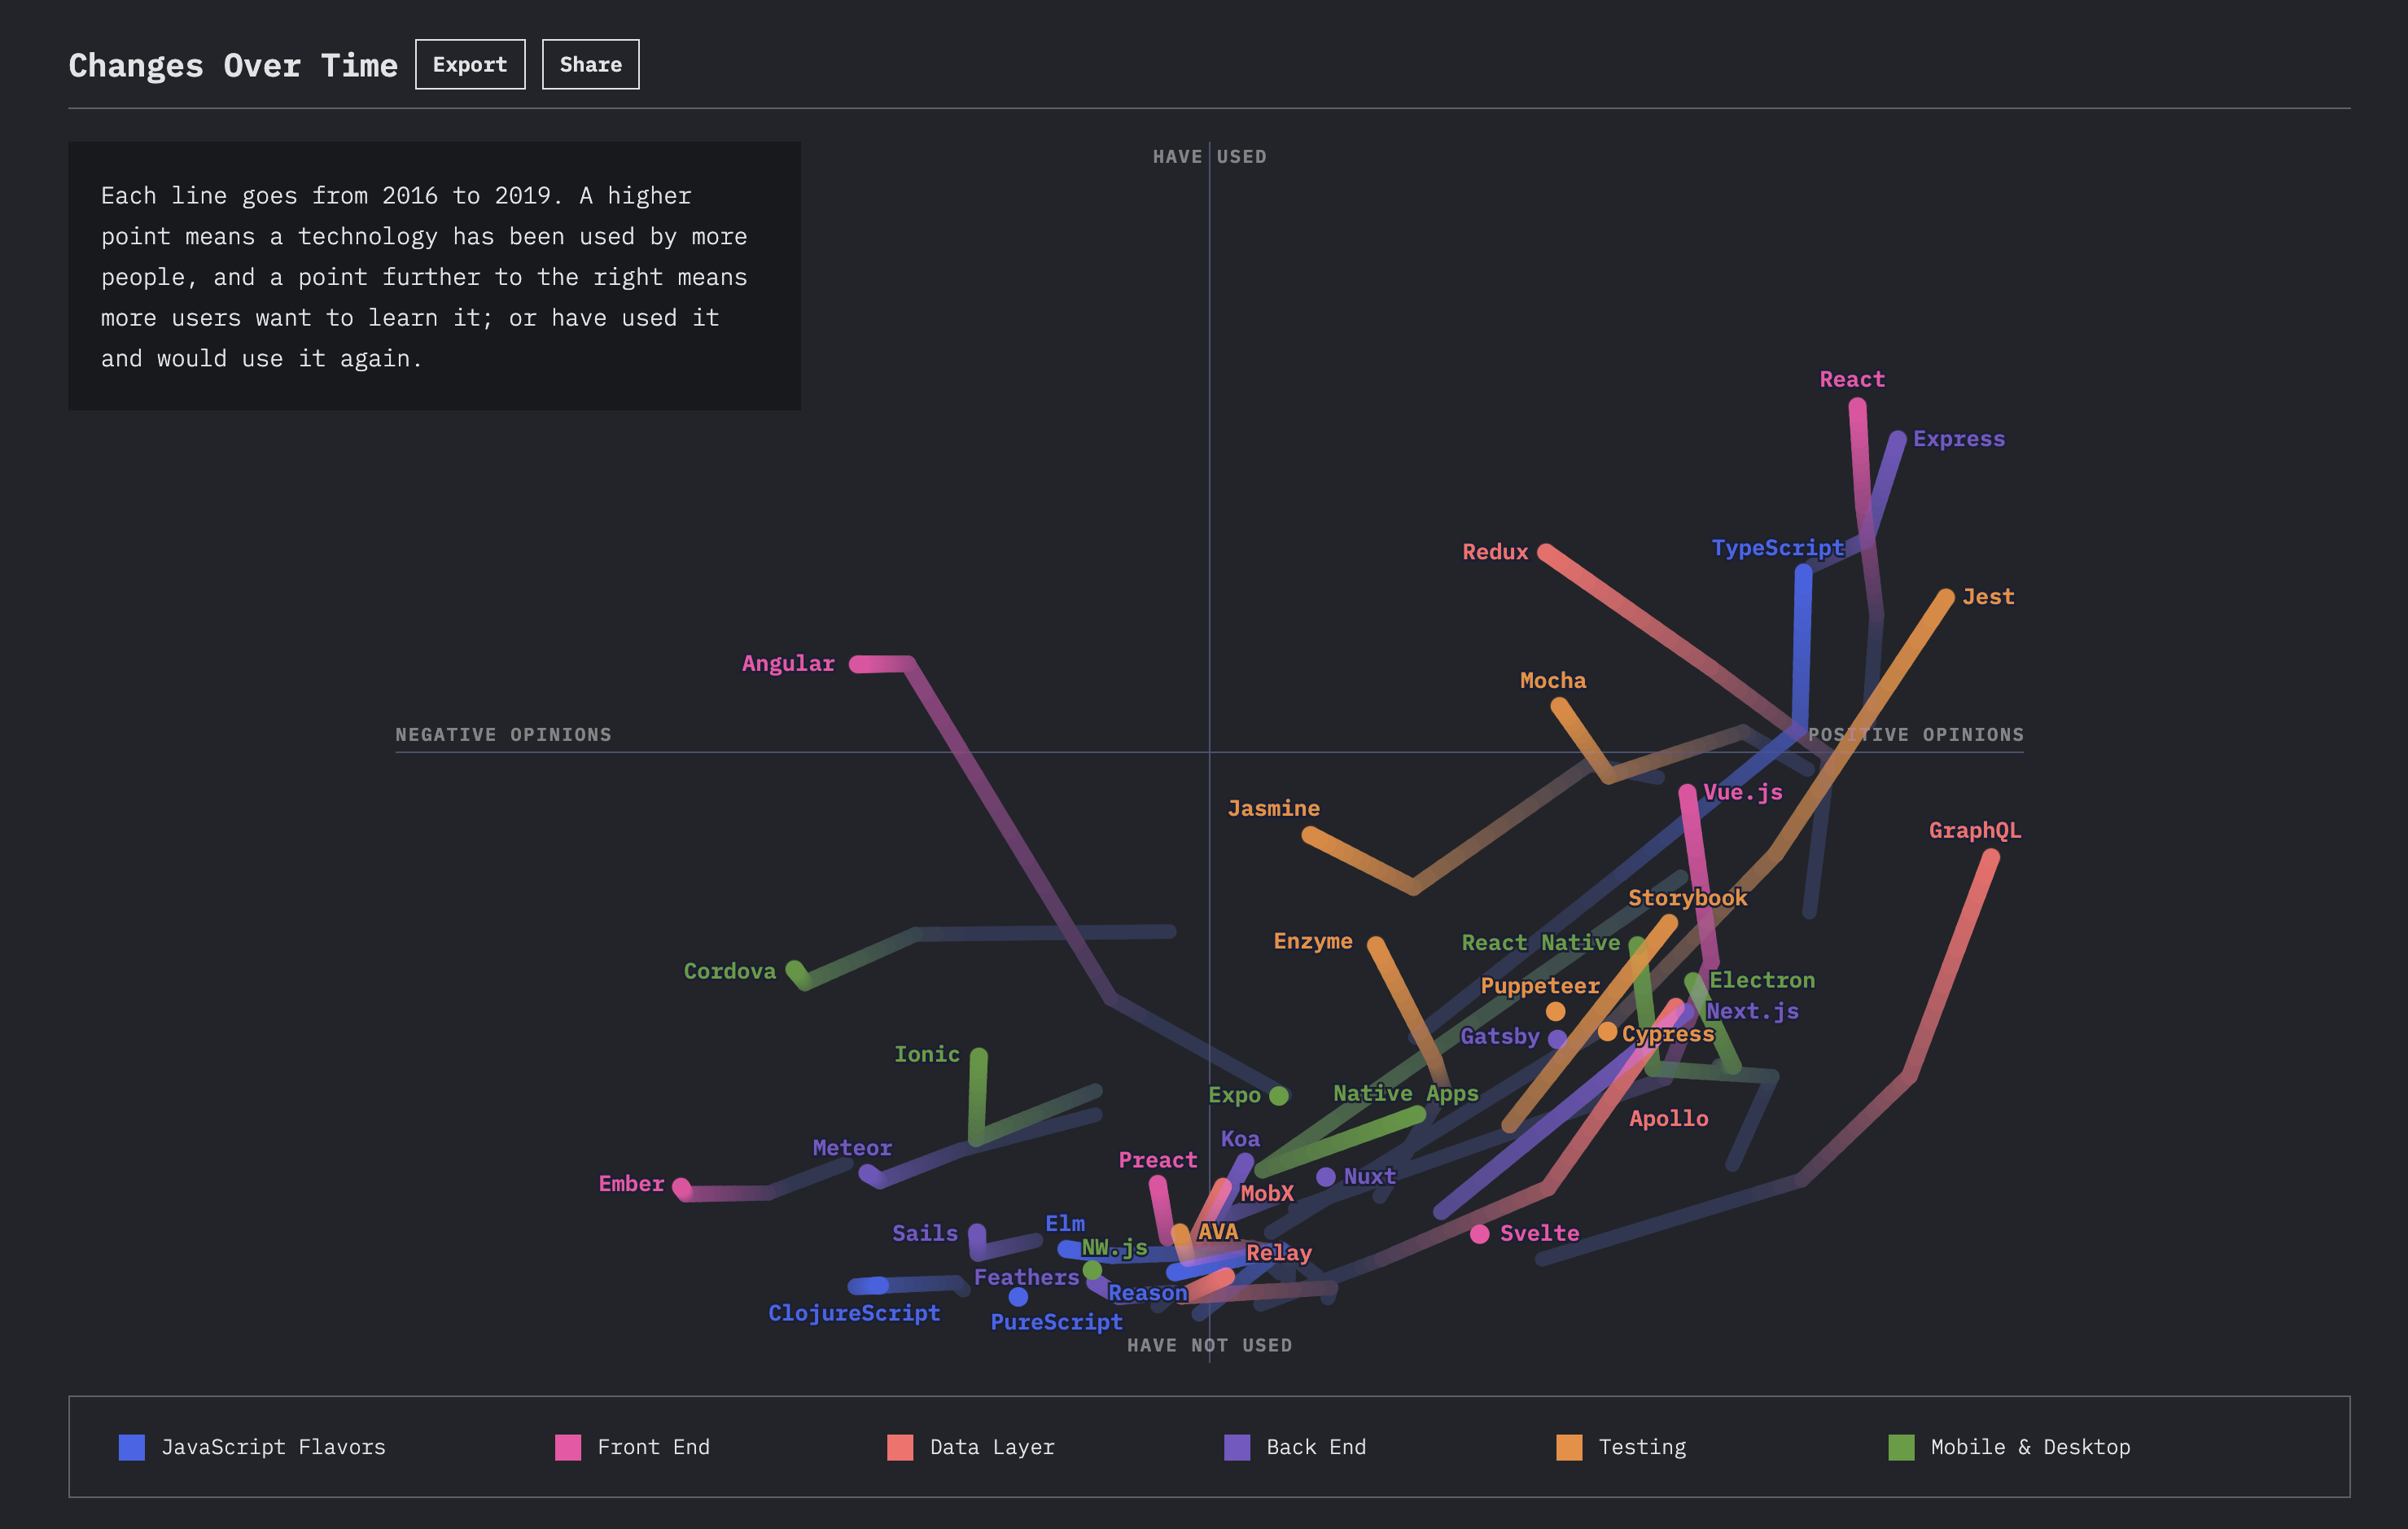
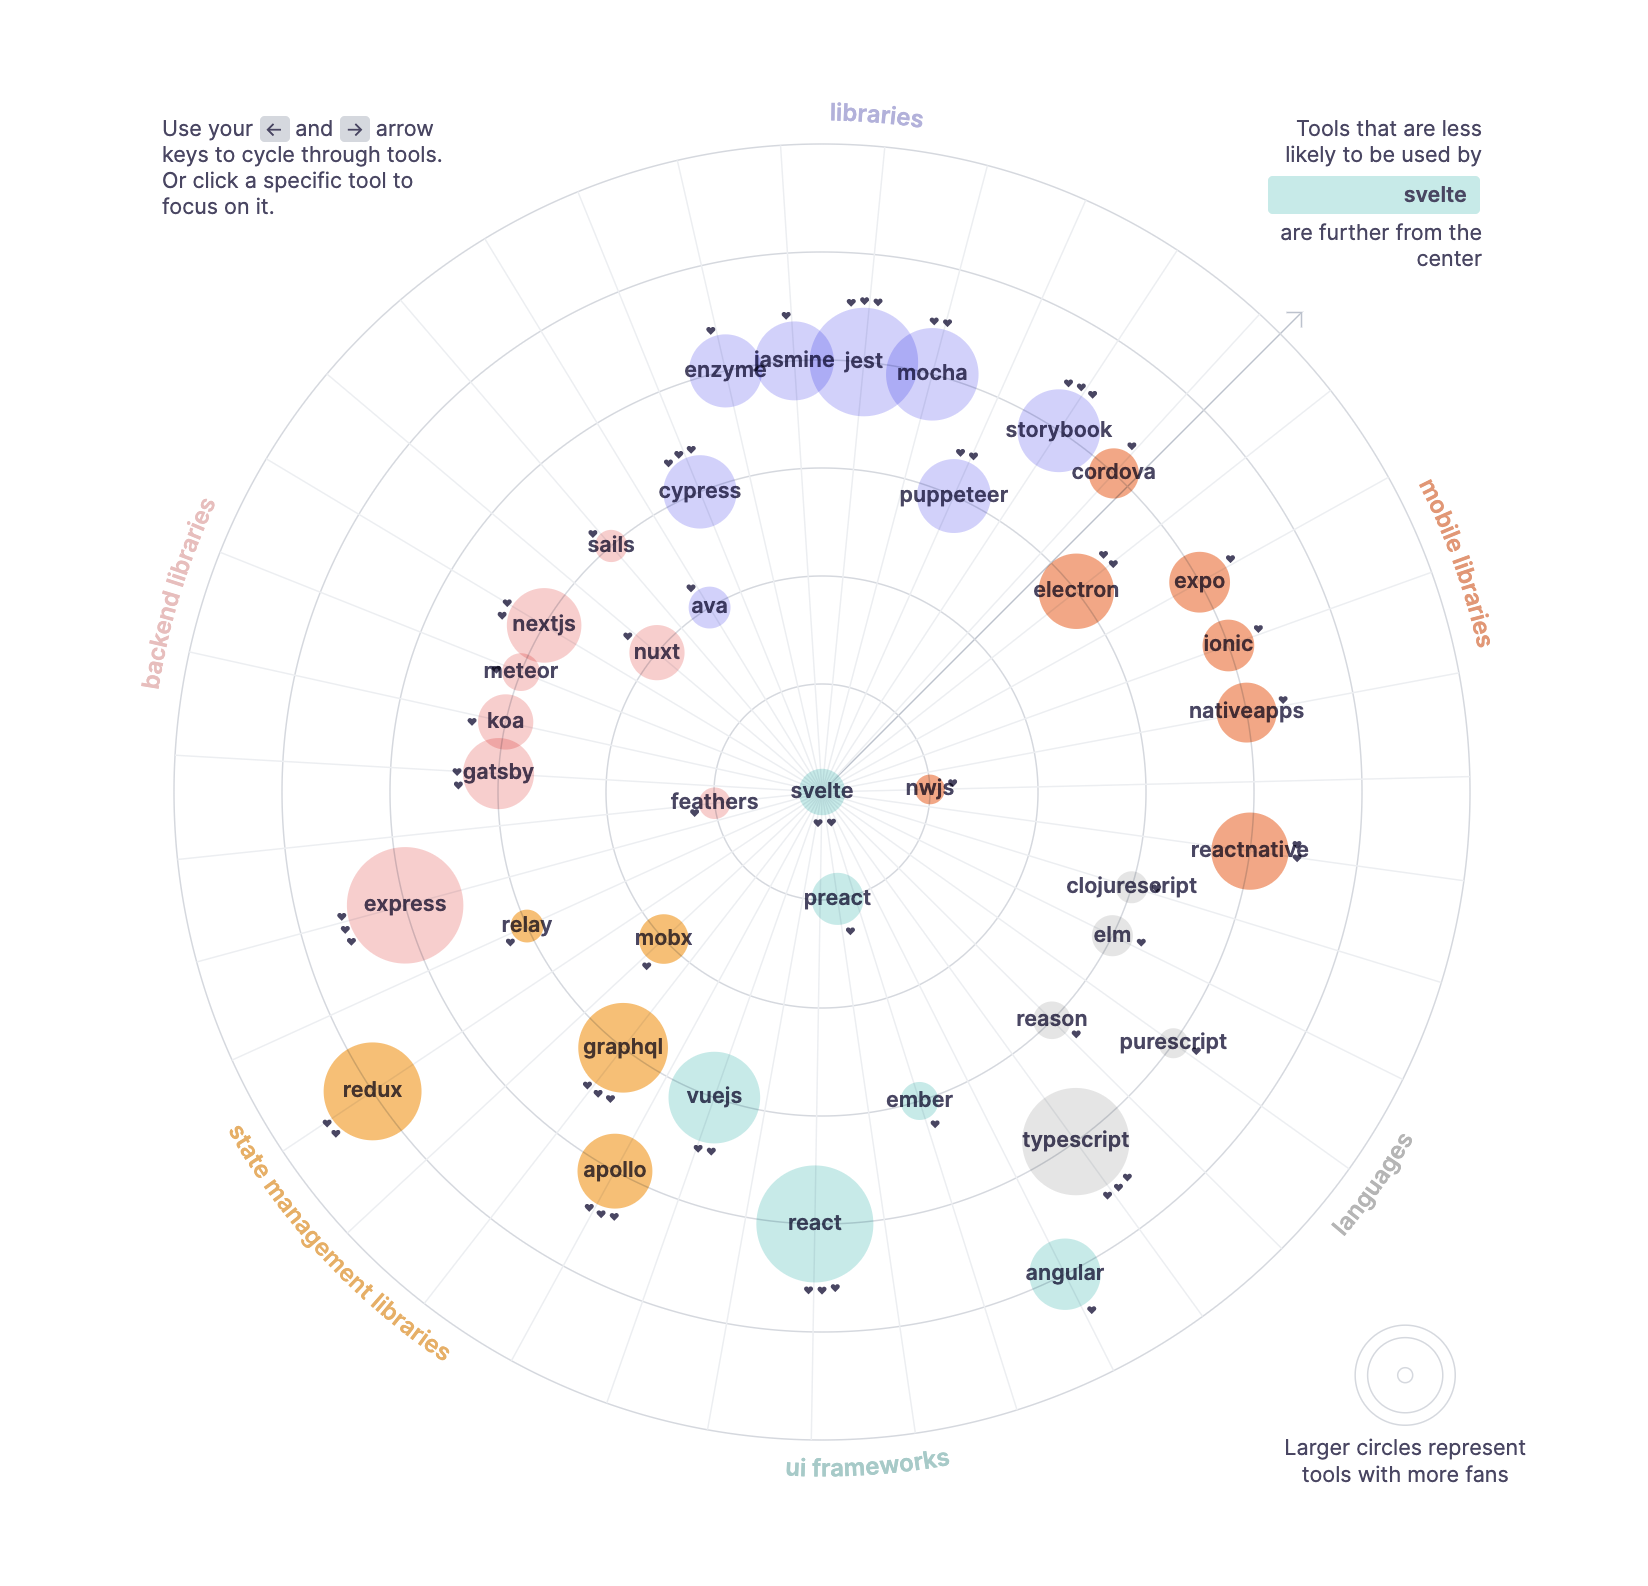
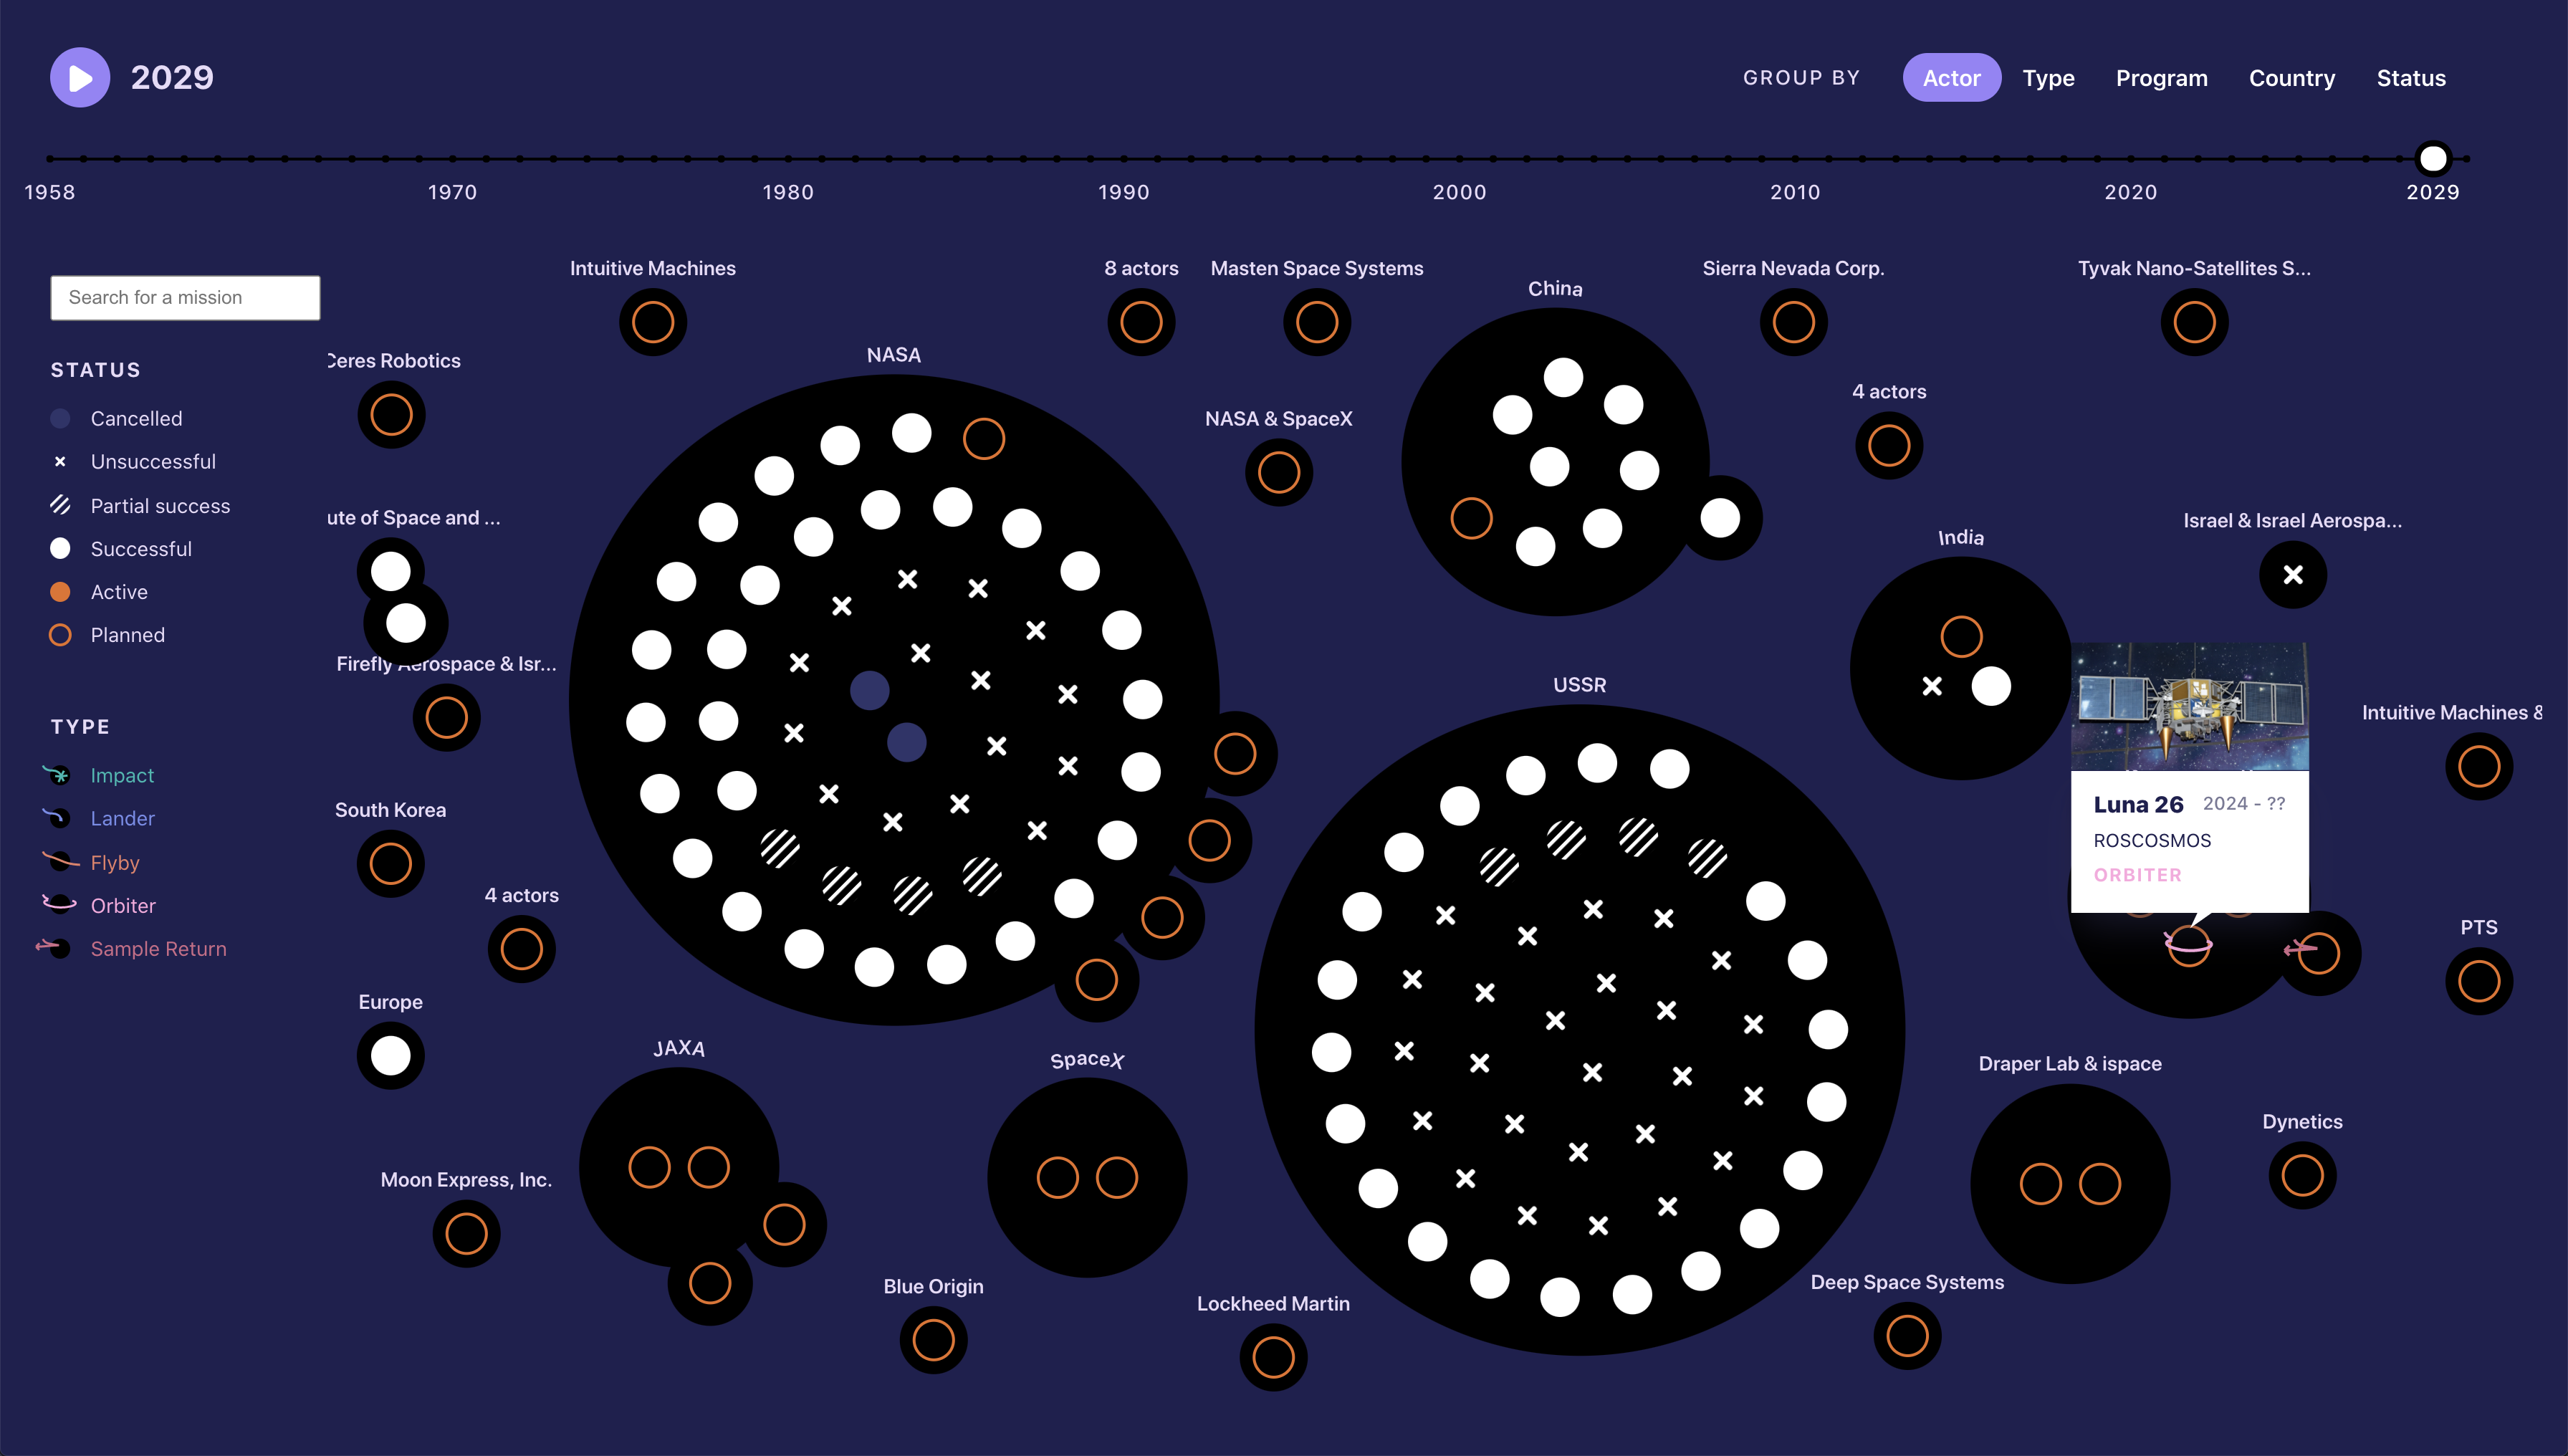
For inspiration, here are some more custom visualizations I've put together:
My favorite parts of the data visualization field are:
- how many forms we haven't yet explored,
- how simple sharing can be, and
- the impact they can have, especially when interactable
And we get the best of all worlds when creating custom, interactive visualizations on the web.
If you found this article useful, I'd love to hear what you make on Twitter!


